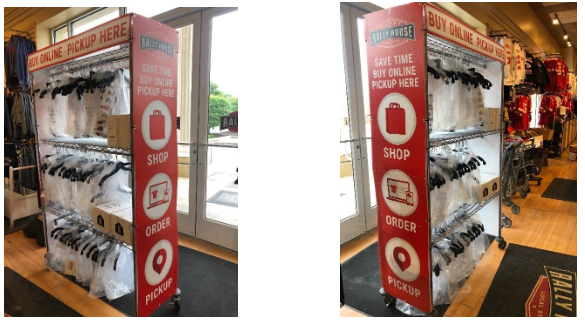
- Before beginning this process, ensure that your baker’s rack is set correctly using the Building an In-Store Baker’s Rack guide.
- This can be found in NetSuite under Store Training.
- This signage kit includes (2) side panels, (2) topper pieces, and a set of Dual Lock strips.
- Take 1 side panel and place on the right side of the baker’s rack. Align this panel up so that it is resting on the top of the caster wheels.
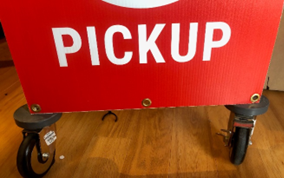
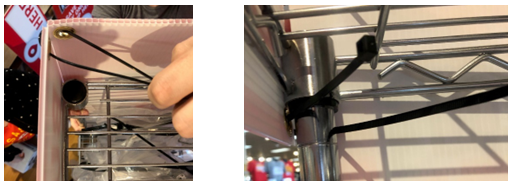
- Zip tie the bottom of the side panel to the 2 poles of the baker’s rack.
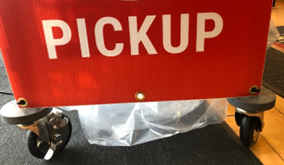
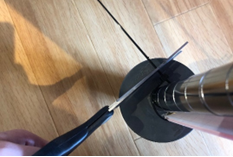
- Ensure that the zip ties are facing into the fixture so that when cut at the end the zip tie is not sharp on the outside and there is a clean presentation.
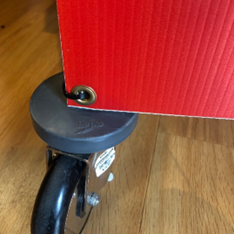
- Zip tie the remainder of the side panel to the 2 poles of the baker’s rack where there are grommets placed on the panel.
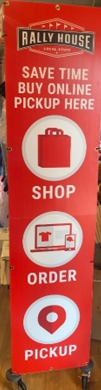
- Repeat steps 4-7 for the left side of the baker’s rack.
- Using zip ties, connect the topper piece to the side panels where there are grommets.
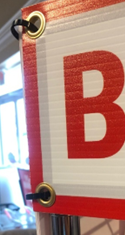
- Ensure that the zip ties are facing into the fixture so that when cut at the end the zip tie is not sharp on the outside and there is a clean presentation.
- Once both sides are secure with zip ties, take two sets of the dual lock strips (ensure these are secured together), peel of one side of the adhesive backing, and place on the bottom wiring of the top shelf of the baker’s rack.
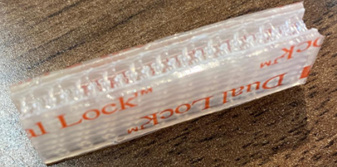
- Place one on the left and right side of the middle of the shelf. This will help ensure that the topper piece does not bow outward.
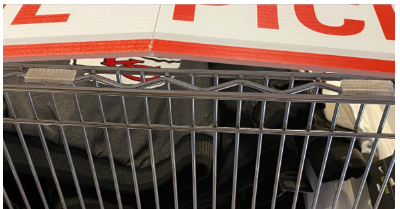
- Remove the adhesive backing on the two sets that will adhere to the topper.
- Press the topper firmly where the dual lock strips meet to secure the topper to the baker’s rack.
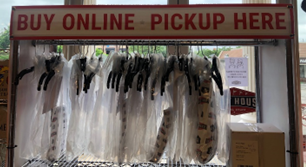
- Repeat steps 9-13 for the back topper piece.
- Cut all zip tie tales off.
- Once all steps are completed the fixture should look exactly as pictured below.